Monday, 18 October 2010

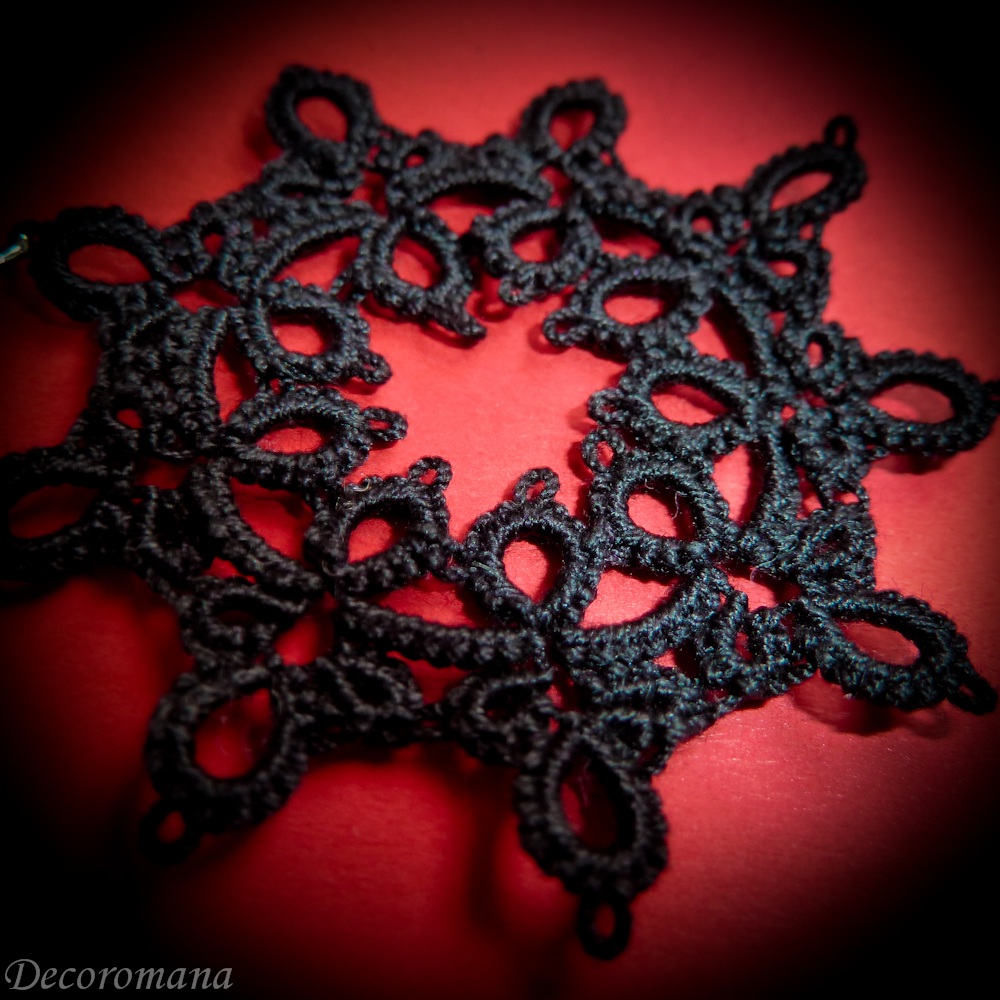
Red tatted lace bracelet

Today I want to show the red bracelet, which I tatted lately. Pattern I invented playing simple rosettes in various arrangements. The effect I really like. At the insistence of daughter I used two extension chains and fasteners. In my opinion it looks very nice. I am tatting the black version just now.


Tuesday, 5 October 2010

How to decoupage a tatting shuttle? – Tutorial


As I have promised in my previous post, I'll show you today how to decorate a tatting shuttle using a decoupage technique. You will need :
*shuttle (Clover),
*acrylic paint in bright colours (I used antique white and pink),

*decoupage glue (I used Mod Podge, but you can use any PVA craft glue –a little worse effect, but it works),
*paper napkin
*varnish,
*some brushes (including foam brush – you can use a small piece of sponge)

 
Paint the shuttle with a white acrylic paint, leave to dry (you can cheat a little using a hairdryer)
Repeat 2 or more times, until satisfactory results
(I added a little bit of pink paint to make some shadows)


Prepare a paper napkin with a nice motif (I recommend bright background). Each paper napkins has several layers, we need only top one. Be careful, because napkins are very fragile. When you have separated a top layer of napkin, you can very carefully tear your motif.


Just now apply a decoupage glue on the motif. You have to do it very gently pressing a napkin using a brush. This is the hardest part of this technique -you need to straighten out any wrinkles but do not destroy the napkin. Leave it to dry. Cut off protruding pieces of the paper napkin.


When it is completely dry, apply a few layers of varnish (leave to dry between applying coats). Leave for 24 hours to dry.


It is going to be your favourite shuttle!


EDIT: here is the picture of the bottom side of my shuttle

Monday, 4 October 2010

Decoupaged tatting shuttle

Today there is not too much to write. I started this blog writing about decoupage. So I had to decoupage my tool for tatting. I embellished a few days ago my shuttle with a cute forget-me-nots motif. I used a cream acrylic paint, a motif from paper napkin, a decoupage glue .
Would you like a tutorial, how to decorate shuttles using decoupage technique?


Monday, 27 September 2010

Vampire’s Wheel of Fate

This is my next project and I am extremely pleased how it turned out. Halloween is fast approaching so inevitably I invented this vampire style medallion.

This medallion has all the features that I love in the Gothic style –dark, mystery, lace, secrecy, delicacy. I am going to tat matching earrings as well. So in the near future I'll tat a set of vampire-style jewellery.

To make this piece I used black Aida 20


Friday, 24 September 2010

Tatted earrings in an old gold

Wow, finally I learned the basis of tatting around the ring. I could not resist and tried to do new earrings. The design was created spontaneous. A very pleasant surprise was the fact that the earrings are flat, not waving at all. So I dared to do a few new projects. Over the next few days I will show you some of my own projects. They are vey simple, but I am very happy I am able to design tatting motives.  I wonder whether you will like it. I think also about organize a small "giveaway" / candy, whatever you call it.
 Here I am presenting earrings handmade by me. I used a very thin thread in an old gold and earwires (colour of old gold as well). Do you have an idea what to call these earrings?


Tuesday, 21 September 2010

Dimensional Rose

I noticed recently that dimensional tatting has become very popular. This can be seen on blogs by Agasunset, krystledawnetats, or umintsuru. So I made a sweet rose, according to this pattern. I used Liezbeth 20 in ecru  and variegated pink.

Friday, 17 September 2010

Sapphire tatted earrings (in gold)

Still I like very much gold earrings with Swarovski crystals. This time I used the beautiful sapphire crystals. Effect exceeded my expectations. The result is jewellery that reminds me of the Victorian era, the beauty of flowers, gold, precious stones. This is my little tribute to femininity, romance and everything associated with that.I used antique gold thread (I don't know the name), sapphire Swarovski crystals and sterling silver (925) earwires plated 24 carat gold.

I'm trying to learn needle tatting, but I'm not satisfied with the results ... So for now stick to the shuttle ... Have a nice weekend!


Wednesday, 15 September 2010

Shuttle tatting vs. needle tatting

I am encouraged by the posts written by Agasunset and bought a tatting needle. I decided to learn this technique. Apparently tatting needle is much faster to do, which is the undoubted advantage. But at this stage I'm doing a lot faster tatting lace by shuttle. Now I would like to write about the differences that I see at first glance between the two techniques. Yesterday I did two flowers, the same pattern, same thread, the first made with a needle, a second with a shuttle. As you can see on the picture below the size of the two flowers are similar. The difference manifests itself in the thickness of the individual chains or rings. Next difference, which strikes the eye, is the distribution of colours on a multi-coloured, variegated thread. In needle tatting there is a continuity of colour both in rings and chains. In the shuttle type of tatting is a lack of this continuity. You can see very clearly the difference between colour of rings and chains. I must admit that generally I like more the final result in shuttle tatting, but the distribution of colour is far nicer if you are using a tatting needle. I used a sample of Lizbeth 40 (which was a pleasant surprise that I got along with purchased needles) and tatting needle size 7.


Related Posts with Thumbnails